Probability Tree Diagram Explorer
Related Pages
Printable Math Worksheets
Online Math Quizzes
Math Games
Math Worksheets
This Probability Tree Diagram Explorer gives a visual way to map out all possible outcomes for multiple events.
Probability Tree Diagram Explorer
Welcome to the Probability Tree Diagram Explorer. To learn Tree Diagrams, you need to see how the “branches” split to represent every possible choice. In probability, each branch is labeled with its individual chance, and the final “leaves” represent the combined outcome.
In the following Probability Tree Explorer, you can toggle between Independent (the second set of branches is the same as the first) and Dependent (the second set of branches changes based on the first pick). Scroll down the page for a more detailed explanation.
Probability Tree Diagram
A probability tree diagram is a visual map used to calculate the likelihood of multiple events happening in a sequence. It is particularly useful because it breaks down complex “what if” scenarios into a simple branching structure.
-
Why Use a Tree Diagram?
A tree diagram is the best way to avoid mistakes in probability because it forces you to account for every path.
For Independent Events: The “branches” are identical because the pool of items doesn’t change.
For Dependent Events: It visually shows the “pool” shrinking. If you follow the “Red” branch, the next set of branches must show that one Red item is gone (e.g., the 3/5 chance becomes a 2/4 chance). -
How to Construct and Use a Tree Diagram
Step A: Start at a Single Point
Every tree begins at a single “node” on the left. This represents the start of your experiment.
Step B: Draw the First Set of Branches
Each branch represents a possible outcome for the first event.
Label the branch: Write the name of the outcome (e.g., “Red Marble”).
Assign the probability: Write the fraction or decimal on the line (e.g., 3/5).
Check the sum: The probabilities of all branches coming from a single node must always add up to 1.
Step C: Draw the Second Set of Branches
From the end of each first branch, draw new branches for the second event.
Crucial Rule: If the events are dependent, you must change the numbers.
For example, if you picked a Red marble and didn’t put it back, the second “Red” branch must reflect that there is one less marble in the bag.
Step D: Calculate the Final Outcomes
To find the probability of a specific path (e.g., picking Red then Blue):
Multiply Along the Branches: Follow the path from left to right and multiply the probabilities you encounter.
P(Red and Blue) = P(Red) × P(Blue given Red)
Add the Ends: If you want to find the probability of “Either two Reds OR two Blues,” you calculate the final probability for both paths and add them together. -
The Rules
Multiply to go across (along the branches).
Add to go down (combining different final outcomes).
The “Total Check”: If you calculate the probability for every single “leaf” at the end of the tree and add them all up, the result must be exactly 1.0. If it isn’t, there is a mistake in your fractions.
Probability Tree Diagrams
Check out our most popular games!
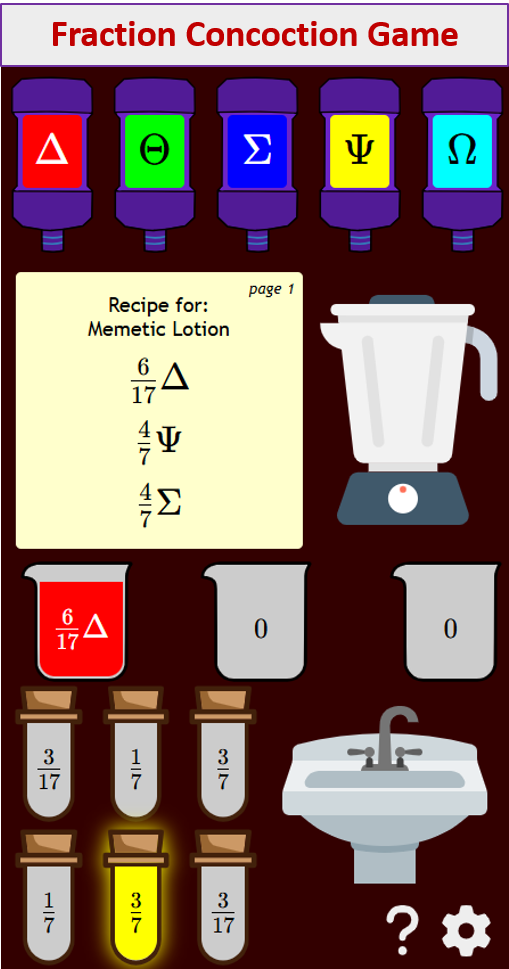
Fraction Concoction Game:
Master fractions in the lab: mix, add, and subtract beakers to create the perfect concoction!
Fact Family Game:
Complete fact families and master the link between addition & subtraction and multiplication & division.

Number Bond Garden:
Clear the board by matching number pairs that sum to ten in this garden-themed mental math puzzle.

Online Addition Subtraction Game:
Practice your addition and subtraction skills to help the penguin find its mummy.

We welcome your feedback, comments and questions about this site or page. Please submit your feedback or enquiries via our Feedback page.