Making Scale Drawings Using the Parallel Method
Related Topics:
Lesson Plans and Worksheets for Geometry
Lesson Plans and Worksheets for all Grades
More Lessons for Geometry
Common Core For Geometry
New York State Common Core Math Geometry, Module 2, Lesson 3
Student Outcomes
- Students create scale drawings of polygonal figures by the Parallel Method.
- Students explain why angles are preserved in scale drawings created by the Parallel Method using the theorem on parallel lines cut by a transversal.
Making Scale Drawings Using the Parallel Method
Classwork
Opening Exercise
Dani dilated △ 𝐴𝐵𝐶 from center 𝑂, resulting in △ 𝐴′𝐵′𝐶′. She says that she completed the drawing using parallel lines. How could she have done this? Explain.
Example 1
a. Use a ruler and setsquare to draw a line through 𝐶 parallel to 𝐴𝐵. What ensures that the line drawn is parallel
to 𝐴𝐵?
b. Use a ruler and setsquare to draw a parallelogram 𝐴𝐵𝐶𝐷 around 𝐴𝐵 and point �
Example 1
- Create a scale drawing of the figure below using the ratio method about center 𝑂 and scale factor 𝑟 = 3/4. Verify that the resulting figure is in fact a scale drawing by showing that corresponding side lengths are in constant proportion and the corresponding angles are equal in measurement.
Example 2
Use the figure below with center 𝑂 and a scale factor of 𝑟 = 2 and the following steps to create a scale drawing using the parallel method.
Step 1. Draw a ray beginning at 𝑂 through each vertex of the figure.
Step 2. Select one vertex of the scale drawing to locate; we have selected 𝐴′. Locate 𝐴′ on 𝑂𝐴 so that 𝑂𝐴
′ = 2𝑂𝐴.
Step 3. Align the setsquare and ruler as in the image below; one leg of the setsquare should line up with side 𝐴𝐵, and
the perpendicular leg should be flush against the ruler.
Step 4. Slide the setsquare along the ruler until the edge of the setsquare passes through 𝐴′. Then, along the
perpendicular leg of the setsquare, draw the segment through 𝐴′ that is parallel to𝐴𝐵 until it intersects with 𝑂𝐵, and
label this point 𝐵′.
Step 5. Continue to create parallel segments to determine each successive vertex point. In this particular case, the
setsquare has been aligned with 𝐴𝐶. This is done because, in trying to create a parallel segment from 𝐵𝐶, the parallel
segment was not reaching 𝐵′. This could be remedied with a larger setsquare and longer ruler, but it is easily avoided by
working on the segment parallel to 𝐴𝐶 instead.
Step 6. Use your ruler to join the final two unconnected vertices.
Exercises
- With a ruler and setsquare, use the parallel method to create a scale drawing of 𝑊𝑋𝑌𝑍 by the parallel method. 𝑊′ has already been located for you. Determine the scale factor of the scale drawing. Verify that the resulting figure is in fact a scale drawing by showing that corresponding side lengths are in constant proportion and that corresponding angles are equal in measurement.
- With a ruler and setsquare, use the parallel method to create a scale drawing of 𝐷𝐸𝐹𝐺 about center 𝑂 with scale factor 𝑟 = 1/2. Verify that the resulting figure is in fact a scale drawing by showing that corresponding side lengths are in constant proportion and that the corresponding angles are equal in measurement.
- With a ruler and setsquare, use the parallel method to create a scale drawing of pentagon 𝑃𝑄𝑅𝑆𝑇 about center 𝑂 with scale factor 5/2. Verify that the resulting figure is in fact a scale drawing by showing that corresponding side lengths are in constant proportion and that corresponding angles are equal in measurement.
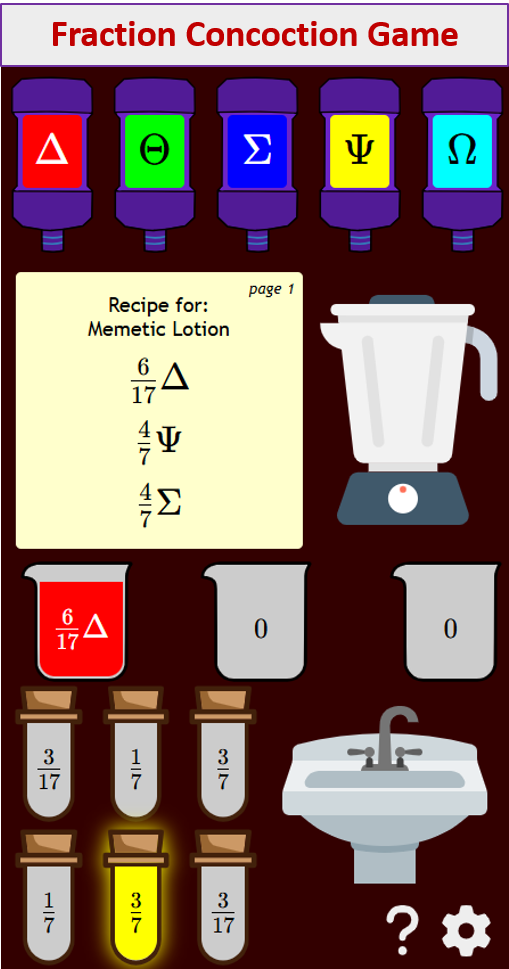
Try out our new and fun Fraction Concoction Game.
Add and subtract fractions to make exciting fraction concoctions following a recipe. There are four levels of difficulty: Easy, medium, hard and insane. Practice the basics of fraction addition and subtraction or challenge yourself with the insane level.
We welcome your feedback, comments and questions about this site or page. Please submit your feedback or enquiries via our Feedback page.