Drawing Angles
Related Pages
Construct angles with the use of compasses instead of protractors
More Geometry Lessons
Measure Angles using a Protractor
In these lessons, we will look at how to use a protractor to
- draw an angle less than 180˚
- draw an angle greater than 180˚ (reflex angle)
Drawing Angles Using a Protractor
Drawing angles accurately using a protractor is a fundamental skill in geometry. A protractor is a tool (usually transparent plastic or metal) shaped like a semicircle, with degree markings along its curved edge. A protractor will have the following components:
1. Baseline (or Straight Edge): The flat, straight bottom edge of the protractor.
2. Origin (or Center Hole/Point): A cross mark exactly at the center of the baseline. This is where the vertex of your angle will go.
3. Inner Scale: A set of numbers from 0˚ to 180˚ that increases right to left.
4. Outer Scale: A set of numbers from 0˚ to 180˚ that increases left to right.
How to draw an angle less than 180˚
The following diagrams how to draw an angle using a protractor. Scroll down the page for more examples and solutions.

Geometry Worksheets
Practice your skills with the following worksheets:
Printable & Online Geometry Worksheets
1. Draw the First Ray (Base Line)
a) Use your ruler or the straight edge of the protractor to draw a clear, straight line segment on your paper. This will be the first side of your angle.
b) Mark one end of this line segment. This point will be the vertex of your angle.
2. Place the Protractor Correctly
a) Carefully place the origin of your protractor exactly on the vertex you marked on your line.
b) Align the baseline of the protractor precisely along the line segment you drew.
3. Locate the Angle Mark
a) Now, you need to find your desired angle measure on the correct scale.
b) Which scale to use? Always start counting from the ‘0’ mark that is aligned with your first ray.
c) Find the angle mark on the correct scale and make a small, clear pencil mark on your paper directly next to it. This mark will indicate where your second ray should go.
4. Draw the Second Ray
a) Carefully remove the protractor from your paper.
b) Draw a straight line segment from the vertex through the mark. This is the second ray of your angle.
5. Label the Angle
Draw a small arc between the two rays, close to the vertex.
Write the degree measure inside this arc. This clearly indicates the angle you’ve drawn.
Example:
Draw an angle ABC, which is 55˚.
Step 1: Draw a line BC and mark B as the vertex.
Step 2: Place the centre of the protractor at the vertex B and adjust the base line to be aligned to BC.

Step 3: Find 55˚ on the outer scale of the protractor and mark that point as point A.

Step 4: Remove the protractor and draw a line from point B to point A

Step 5: Label and ABC

How to draw and measure angles using a protractor?
Examples:
Draw and measure
a) a 110° angle.
b) a 27° angle
Measuring angles using a protractor (acute angles)
Measuring Angles with Protractors (obtuse angles)
How to draw an angle greater than 180˚ (Reflex angle)
To draw a reflex angle (i.e. angle greater than 180º and less than 360º), we need to
- Subtract the reflex angle from 360º.
- Draw the resulting angle as described above.
- Mark the required angle which is outside the one that has been drawn.
Example:
Draw an angle ABC = 250˚
To draw the reflex angle, 250˚, we first draw the angle obtained by subtracting 250˚ from 360˚ which is 360˚ – 250˚ = 110˚
Step 1: Draw the line BC

Step 2: Place the centre of the protractor at the vertex B and adjust the base line to be aligned to BC.

Step 3: Find the angle 110˚ on the protractor (inner) scale and mark that as point A.

Step 4: Remove the protractor and draw a line from point B to point A.

Step 5: Label the reflex angle ABC

How to use a protractor to draw acute angles, right angles, obtuse angles and reflex angles?
How to draw a Reflex Angle?
How to Measure a Reflex Angle Using a Protractor?
Check out our most popular games!
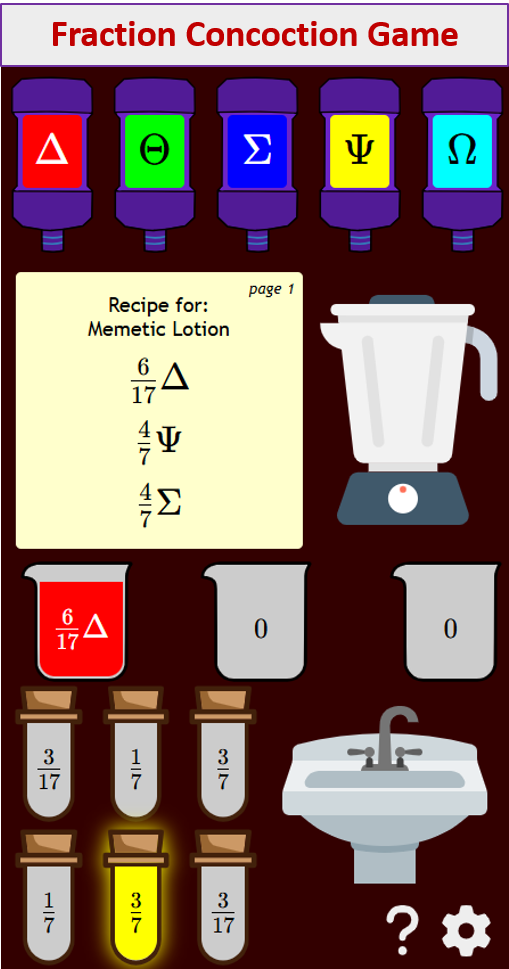
Fraction Concoction Game:
Master fractions in the lab: mix, add, and subtract beakers to create the perfect concoction!
Fact Family Game:
Complete fact families and master the link between addition & subtraction and multiplication & division.

Number Bond Garden:
Clear the board by matching number pairs that sum to ten in this garden-themed mental math puzzle.

Online Addition Subtraction Game:
Practice your addition and subtraction skills to help the penguin find its mummy.

We welcome your feedback, comments and questions about this site or page. Please submit your feedback or enquiries via our Feedback page.