Illustrative Mathematics Grade 7, Unit 1, Lesson 13: Draw It to Scale
Learning Targets:
- I can create a scale drawing of my classroom.
- When given requirements on drawing size, I can choose an appropriate scale to represent an actual object.
Related Pages
Illustrative Math
Grade 7
Lesson 13: Draw It to Scale
Let’s draw a floor plan.
Illustrative Math Unit 7.1, Lesson 13 (printable worksheets)
Lesson 13.1 Which Measurements Matter?
Which measurements would you need in order to draw a scale floor plan of your classroom? List which parts of the classroom you would measure and include in the drawing. Be as specific as possible.
Lesson 13.2 Creating a Floor Plan (Part 1)
- On a blank sheet of paper, make a rough sketch of a floor plan of the classroom. Include parts of the room that the class has decided to include or that you would like to include. Accuracy is not important for this rough sketch, but be careful not to omit important features like a door.
- Trade sketches with a partner and check each other’s work. Specifically, check if any parts are missing or incorrectly placed. Return their work and revise your sketch as needed.
- Discuss with your group a plan for measuring. Work to reach an agreement on:
- Which classroom features must be measured and which are optional.
- The units to be used.
- How to record and organize the measurements (on the sketch, in a list, in a table, etc.).
- How to share the measuring and recording work (or the role each group member will play).
- Gather your tools, take your measurements, and record them as planned. Be sure to double-check your measurements.
- Make your own copy of all the measurements that your group has gathered, if you haven’t already done so. You will need them for the next activity.
Lesson 13.3 Creating a Floor Plan (Part 2)
Your teacher will give you several paper options for your scale floor plan.
- Determine an appropriate scale for your drawing based on your measurements and your paper choice. Your floor plan should fit on the paper and not end up too small.
- Use the scale and the measurements your group has taken to draw a scale floor plan of the classroom. Make sure to:
- Show the scale of your drawing.
- Label the key parts of your drawing (the walls, main openings, etc.) with their actual measurements.
- Show your thinking and organize it so it can be followed by others.
Are you ready for more?
- If the flooring material in your classroom is to be replaced with 10-inch by 10-inch tiles, how many tiles would it take to cover the entire room? Use your scale drawing to approximate the number of tiles needed.
- How would using 20-inch by 20-inch tiles (instead of 10-inch by 10-inch tiles) change the number of tiles needed? Explain your reasoning.
Lesson 13.4 Creating a Floor Plan (Part 3)
- Trade floor plans with another student who used the same paper size as you. Discuss your observations and thinking.
- Trade floor plans with another student who used a different paper size than you. Discuss your observations and thinking.
- Based on your discussions, record ideas for how your floor plan could be improved.
The Open Up Resources math curriculum is free to download from the Open Up Resources website and is also available from Illustrative Mathematics.
Check out our most popular games!
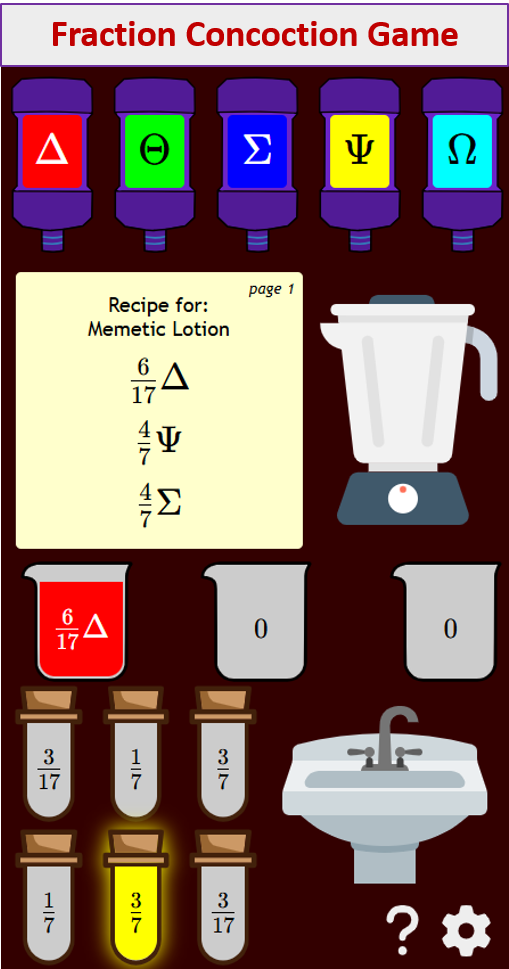
Fraction Concoction Game:
Master fractions in the lab: mix, add, and subtract beakers to create the perfect concoction!
Fact Family Game:
Complete fact families and master the link between addition & subtraction and multiplication & division.

Number Bond Garden:
Clear the board by matching number pairs that sum to ten in this garden-themed mental math puzzle.

Online Addition Subtraction Game:
Practice your addition and subtraction skills to help the penguin find its mummy.

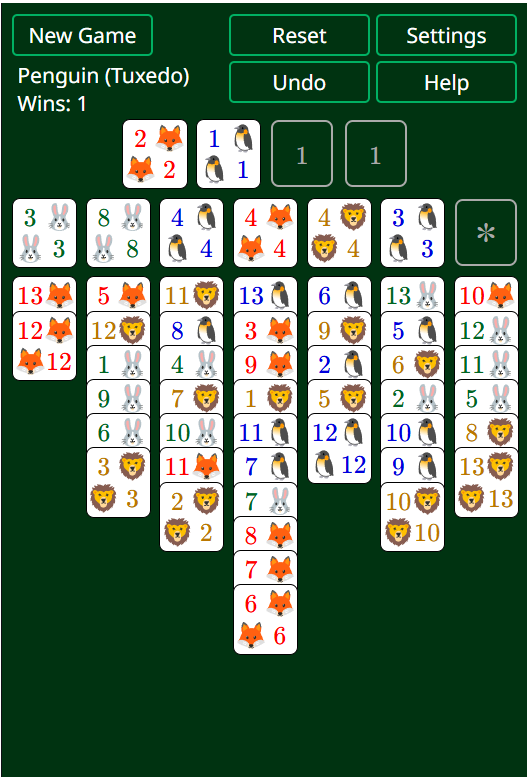
Penguin Solitaire
Penguin Solitaire is a fun game that aims to move all cards to the foundations to build four full sequences. There are two versions here: Penguin (Tuxedo) and Penguin (Original).
We welcome your feedback, comments and questions about this site or page. Please submit your feedback or enquiries via our Feedback page.